In the beginning
In my experience (or at least memory, which, as you will read below, is perhaps not iron trap-like) there have been three major iterations of the EPM documentation portal under Oracle’. Arbor and Hyperion Solutions had documentation before that, but recalling documentation portals from before 2004 (2006?) is simply beyond me.
Here’s the history, in Living Color.
Life under HYSL
Yes, really, thanks to the web’s Wayback Machine and a search for http://dev.hyperion.com a pretty good feel for what documentation used to look like.. What, you don’t remember Hyperion’s stewardship of Essbase? Then you are a n00b. No worries, it wasn’t all that much fun, as you’ll see below. Let’s experience the horror together.
One other note – this was a search of 2004’s information.
And yet another note – it’s a bit unfair to judge an old portal by today’s standards, but as you’ll see, documentation has moved on quite a bit.
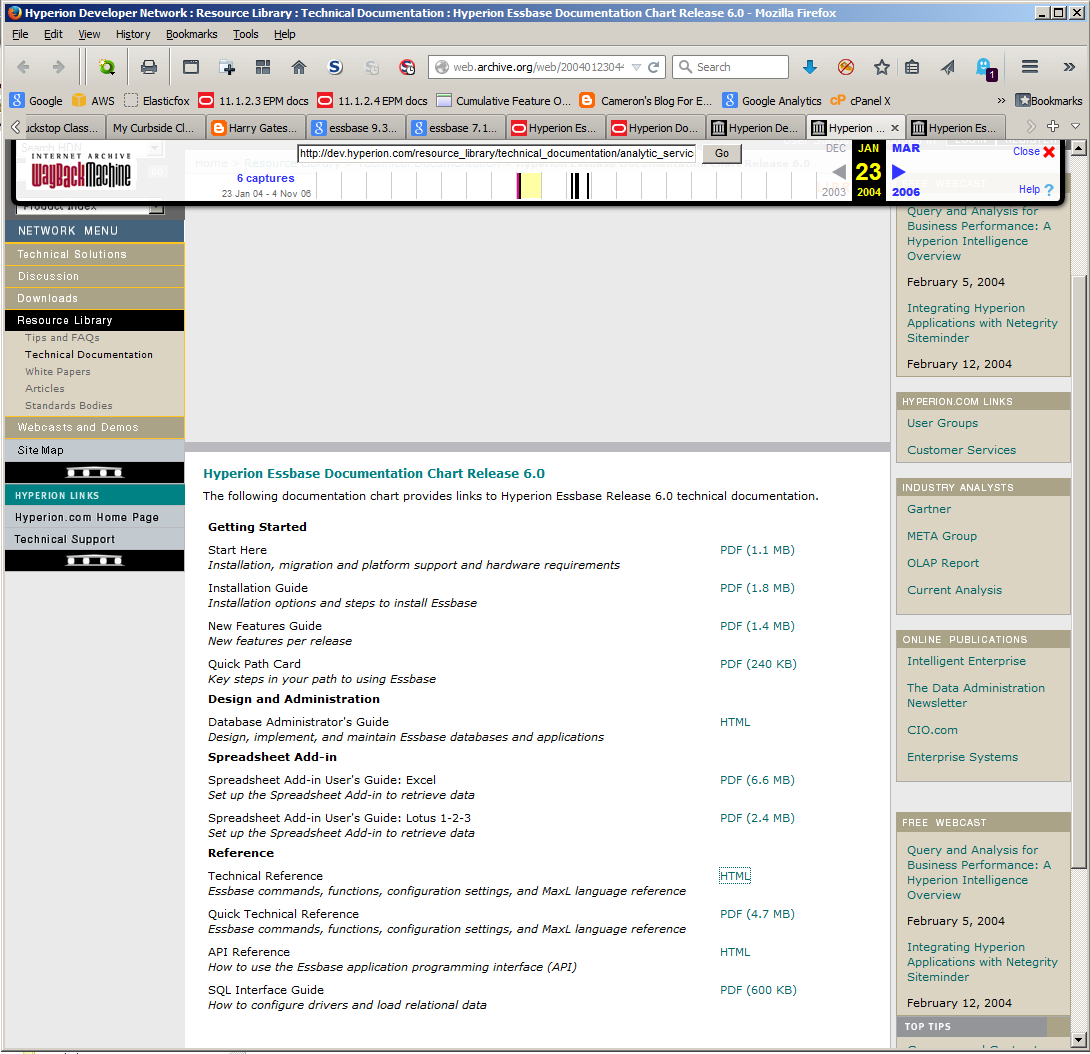
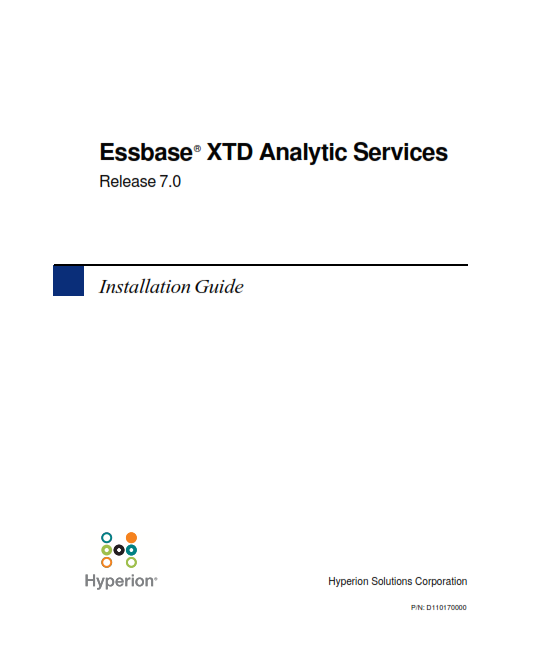
In the beginning with Essbase 6
It ain’t pretty, is it? To be fair (there’s that concept again), as much as it pains me to try to be even handed, some of the ugliness of this is because the Wayback Machine isn’t perfect with grabbing all graphics. Regardless, I have my reasons as will be revealed below.
With that, welcome to web design 10 years ago:
EPM? What’s that? We’ve got Essbase, and that’s all we need.
Essbase was quite a bit simpler back in the 6.0.0 days. Even yr. obt. svt. who is, to be incredibly charitable, a complete infrastructure idiot, could install Essbase. It all got more complicated very quickly. Let’s take a last fond look at the Good Old Days.
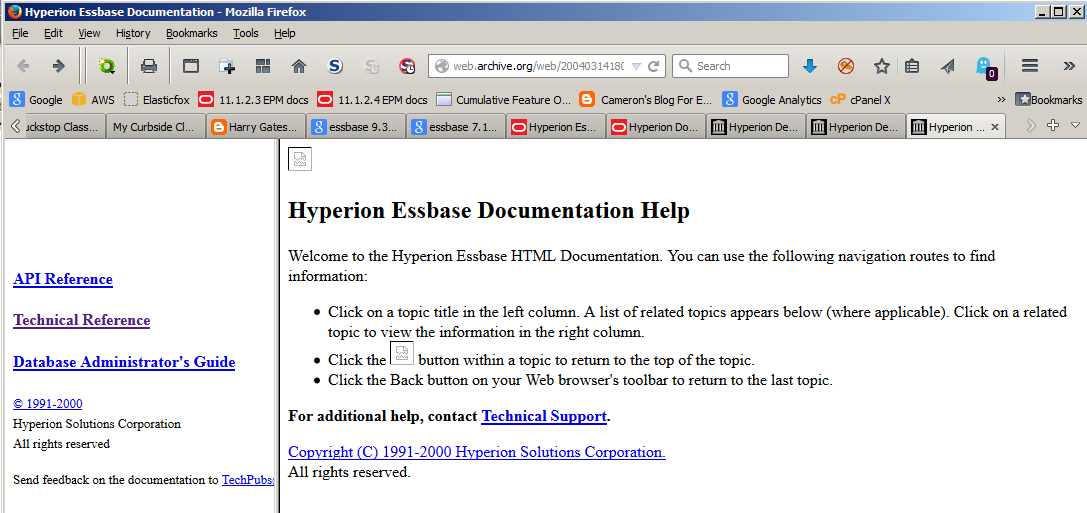
Essbase Administration System Console?
The late lamented Application Manager is no more. Folks, it ain’t 1993 anymore (Essbase’s debut although I believe App Man didn’t come till Essbase 2.0) but I do miss the tight functionality with Windows. Did Hyperion really think Essbase developers were using X Windows? There were some weird product decisions back then, so who knows. Note that EAS existed but isn’t available on the Essbase page. Why?
Not too much change although I think that’s an artefact of the date of this web page.
Why the ire and bile about Hyperion, given that so many of its employees now work for Oracle?
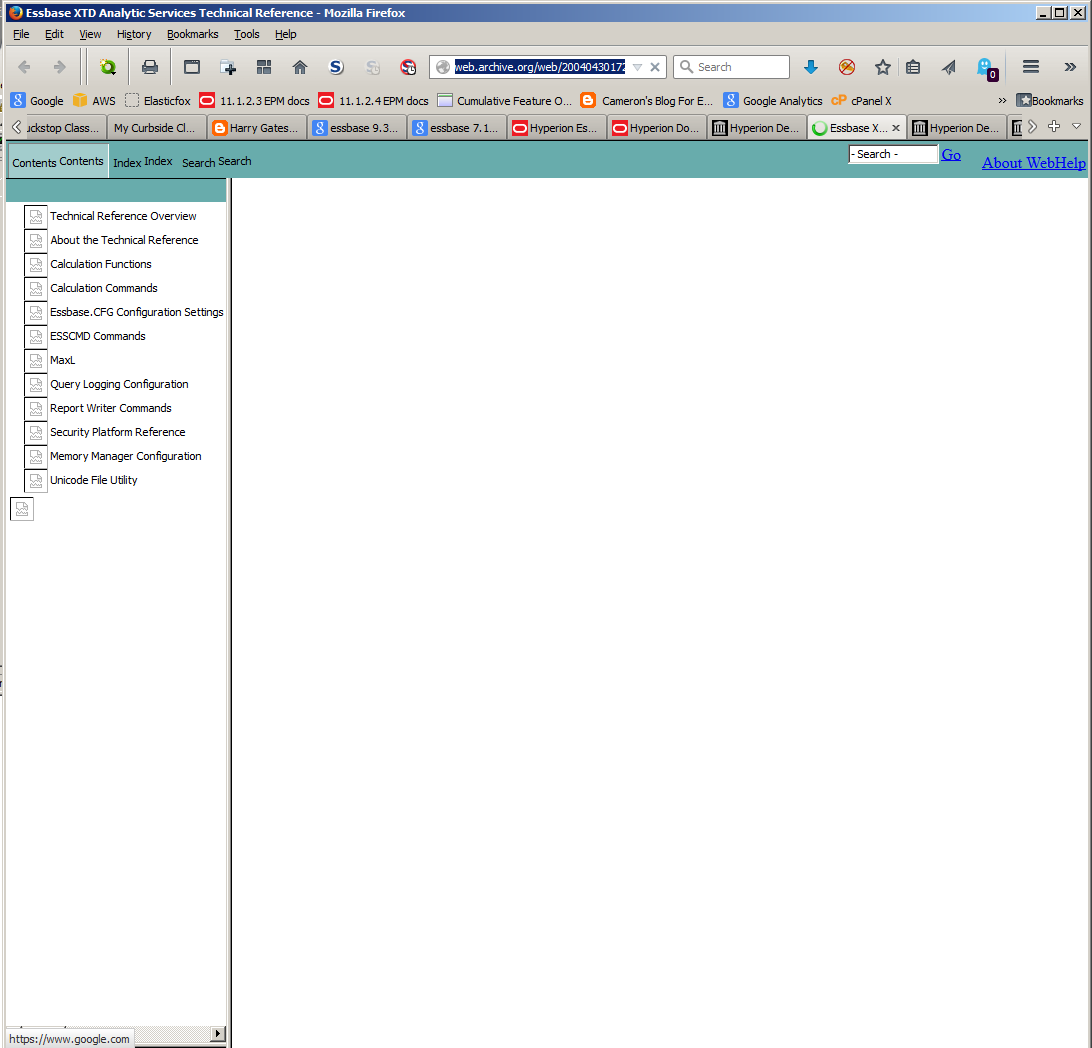
Essbase XTD Analytic Services? What? Hyperion never quite knew what to do with Essbase and tried to bury the thing. One of the first acts Oracle did with Essbase was change it back to its original name. In my opinion, that’s the difference between an applications company (Hyperion) and a database company (Oracle). It’s not that there’s a whit wrong with applications – I bought my house on the back of the money I earnt from Hyperion Planning – it’s just that Essbase is so awesome it really frosted my cookies when Hyperion started to deemphasize it. All EPM product management needed was to be free from their chains.
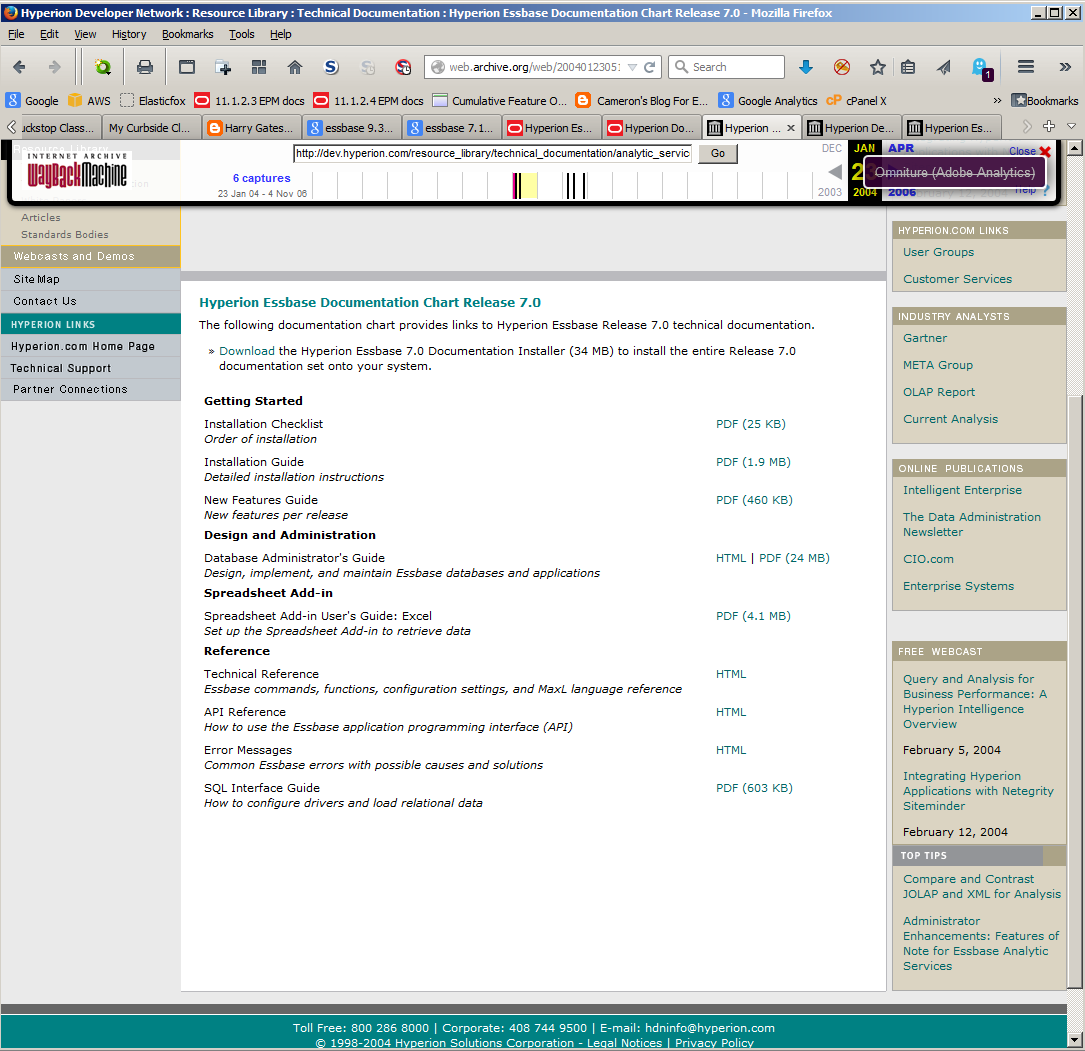
With that fairly epic rant over and done with, Essbase documentation is beginning to look a little more it is today. Here’s the Tech Ref:
View it all in PDF format
As imperfect as web pages are displayed, you can see that the pdfs are all there. Wonder when ASO was introduced? Was it 7.0 or 7.1? Take a look at the New Features Guide:
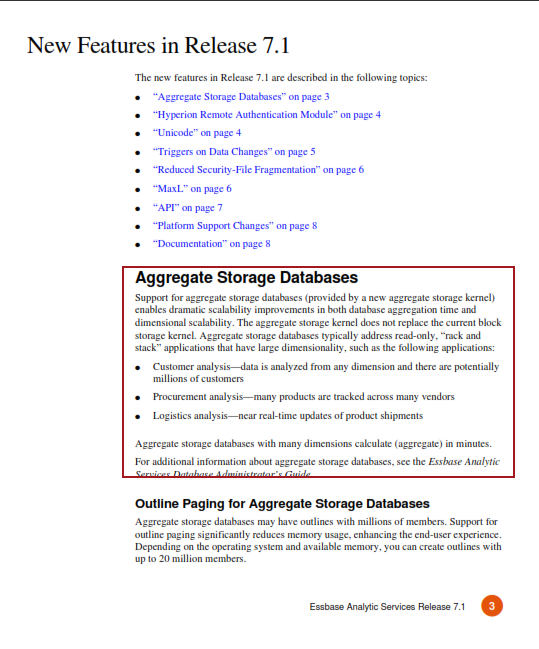
Thus began ASO which begat Hybrid and the future of Essbase.
Life under Oracle
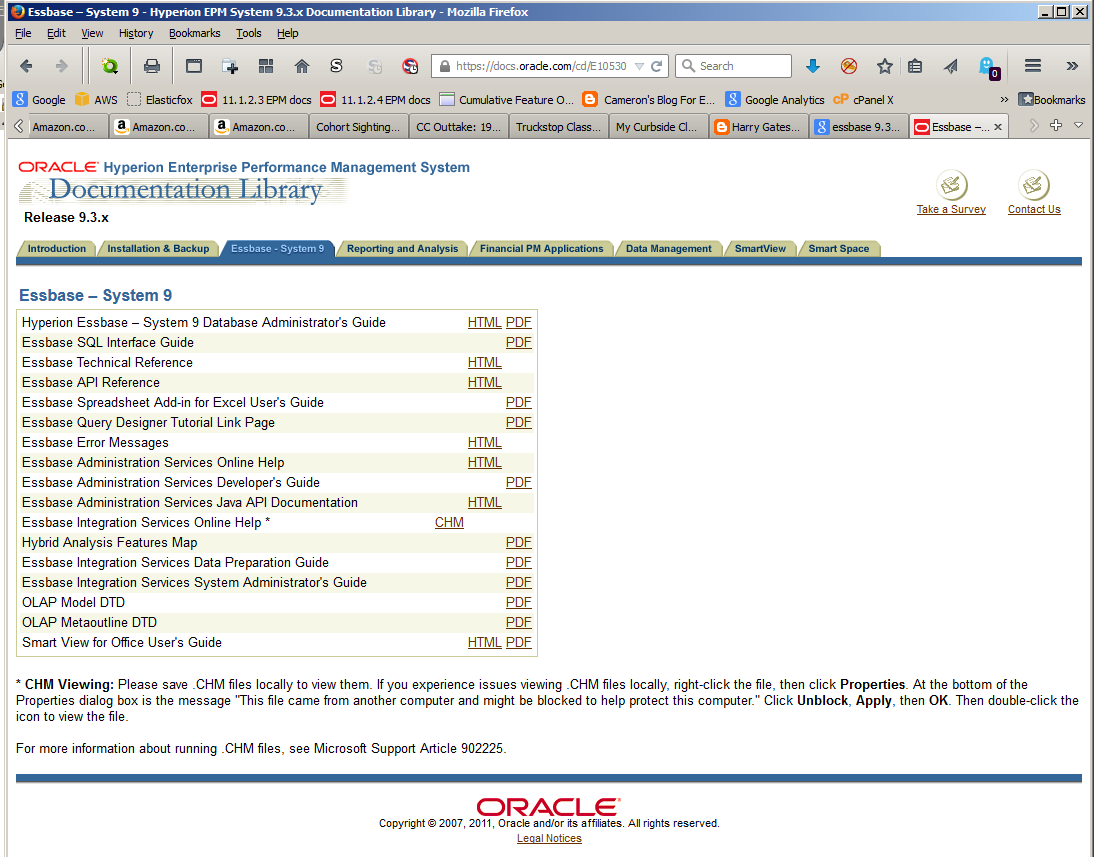
System 9
Ah, much better. Oracle put some money into it and it shows.
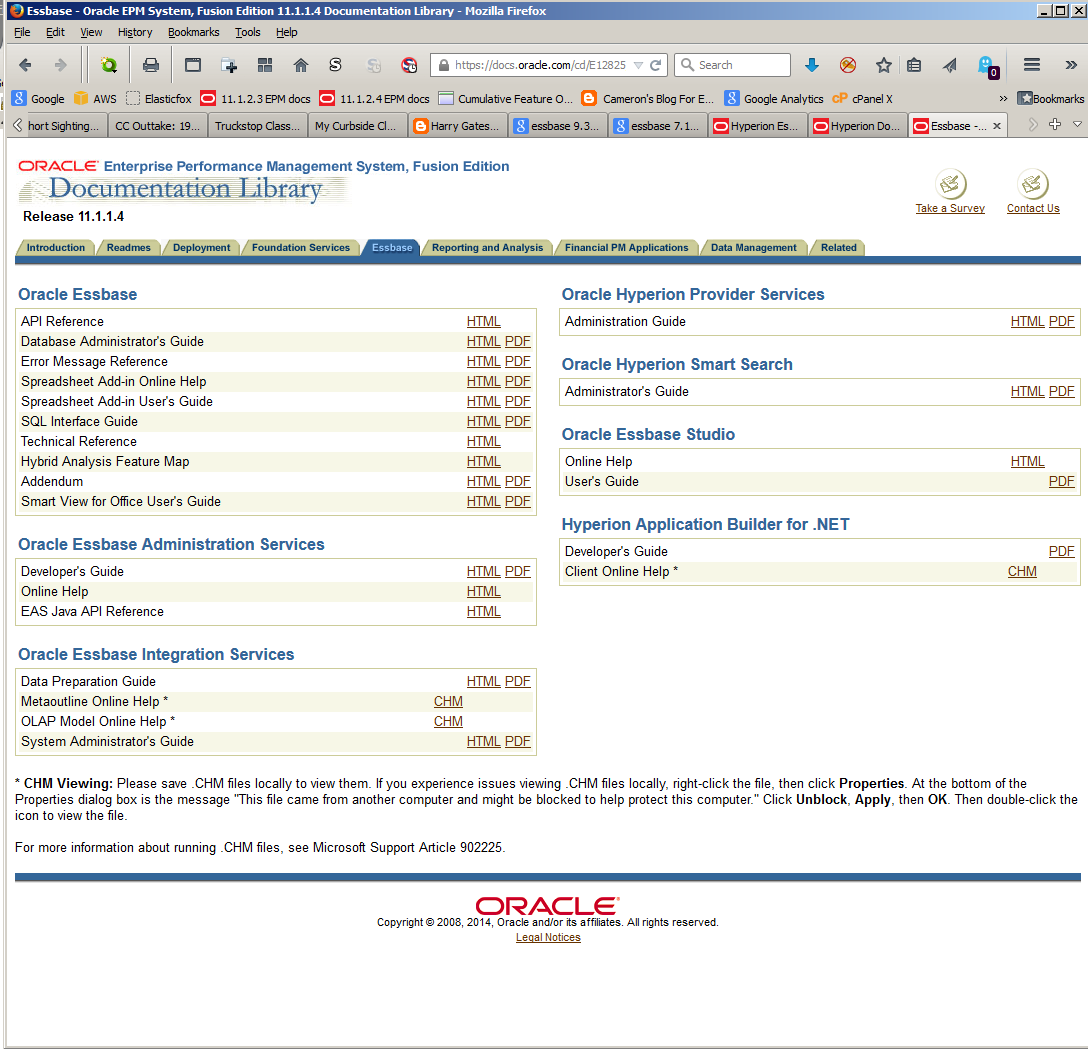
11.1.1.x
Pretty much the same thing, but you can see how the product is growing. There were some turkeys amongst the gems. Does anyone remember Smart Search? The .NET builder?
11.1.2.2
We are now in the modern era.

New and improved
The actual content of the documentation has of course been updated as the tools expand in breadth and depth, but the documentation UI has for the most part been old wine in new bottles since Oracle’s acquisition.
That is no longer the case both for 11.1.2.3.x and 11.1.2.4.
The Oracle documentation team have come up with a much cleaner interface and improved content. Some might argue that a UI for documentation doesn’t really matter but I think that discounts how a clean and responsive design can impact quickly finding information. The point after all behind documentation is trying to find the answer to a problem/understand a new technique/get the job done as easily and quickly as possible. Documentation, while incredibly valuable, is not something yr. obt. svt. (and I suspect you as well) want to spend any more time reading than absolutely necessary.
So what does it look like? Oooh, pretty colors that match either the Stars and Stripes, the Union Flag, or the Tricolor. Wait, there’s the Russian and Dutch and I’m sure a few other flags I have missed. Oracle is nothing if not international in its outlook.

Big deal you say. Colors, schmolors, what does this actually do? Well, one thing it does is dynamically resize the web page based on window width.
The above I sliced off on the right (this is a 1600x1200 desktop display) to get the Essbase page to display in a readable manner.
Here’s the reorganization within a smaller window. It took me a few tries at it to notice this – it just works and makes finding links within the Essbase docs easier to find. This sort of seamless productivity enhancement is the sort of detail that makes great UI. The little things count.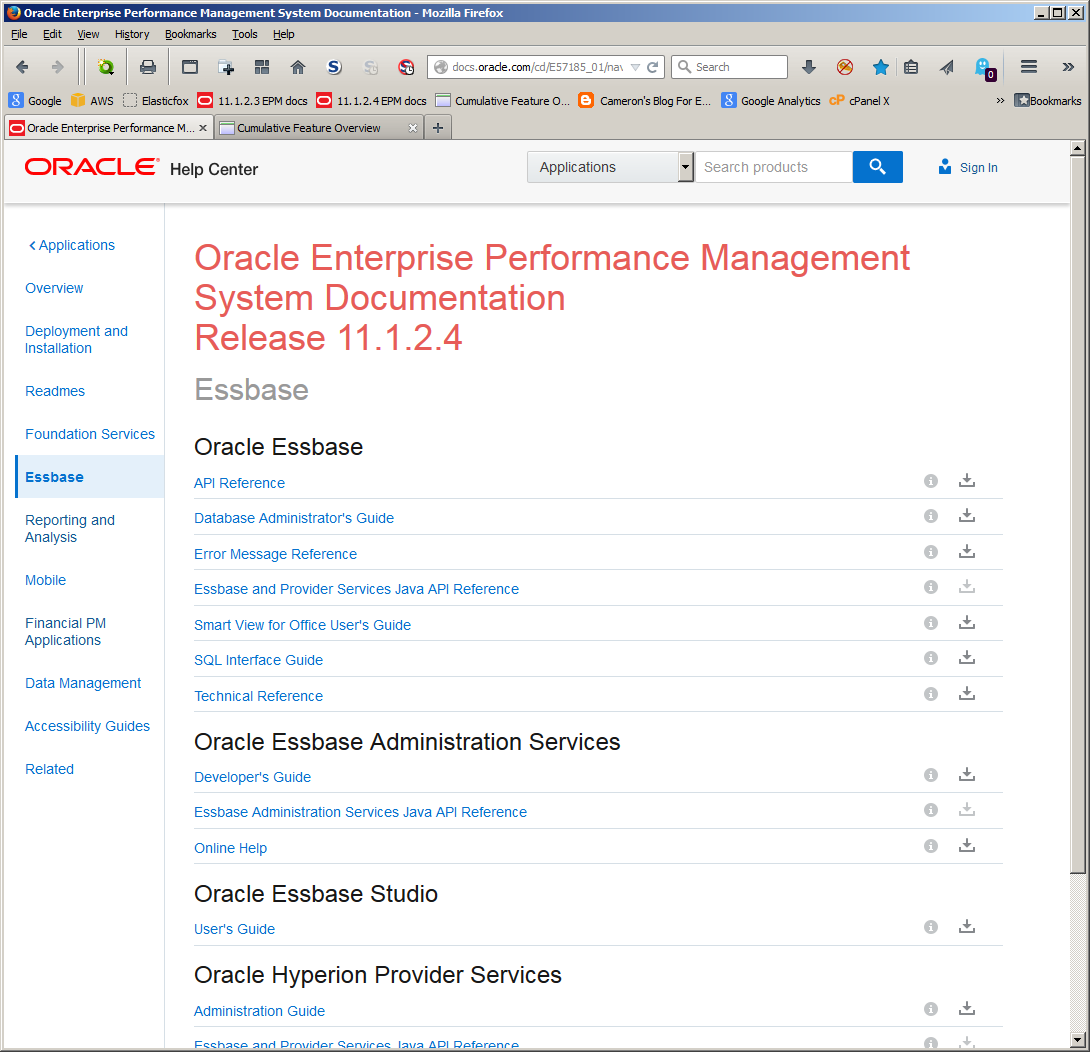
Errors, what errors?
Oracle have also changed most of the Error Message Reference guides. Looking at Foundation Services, the Workspace error list now looks like this:
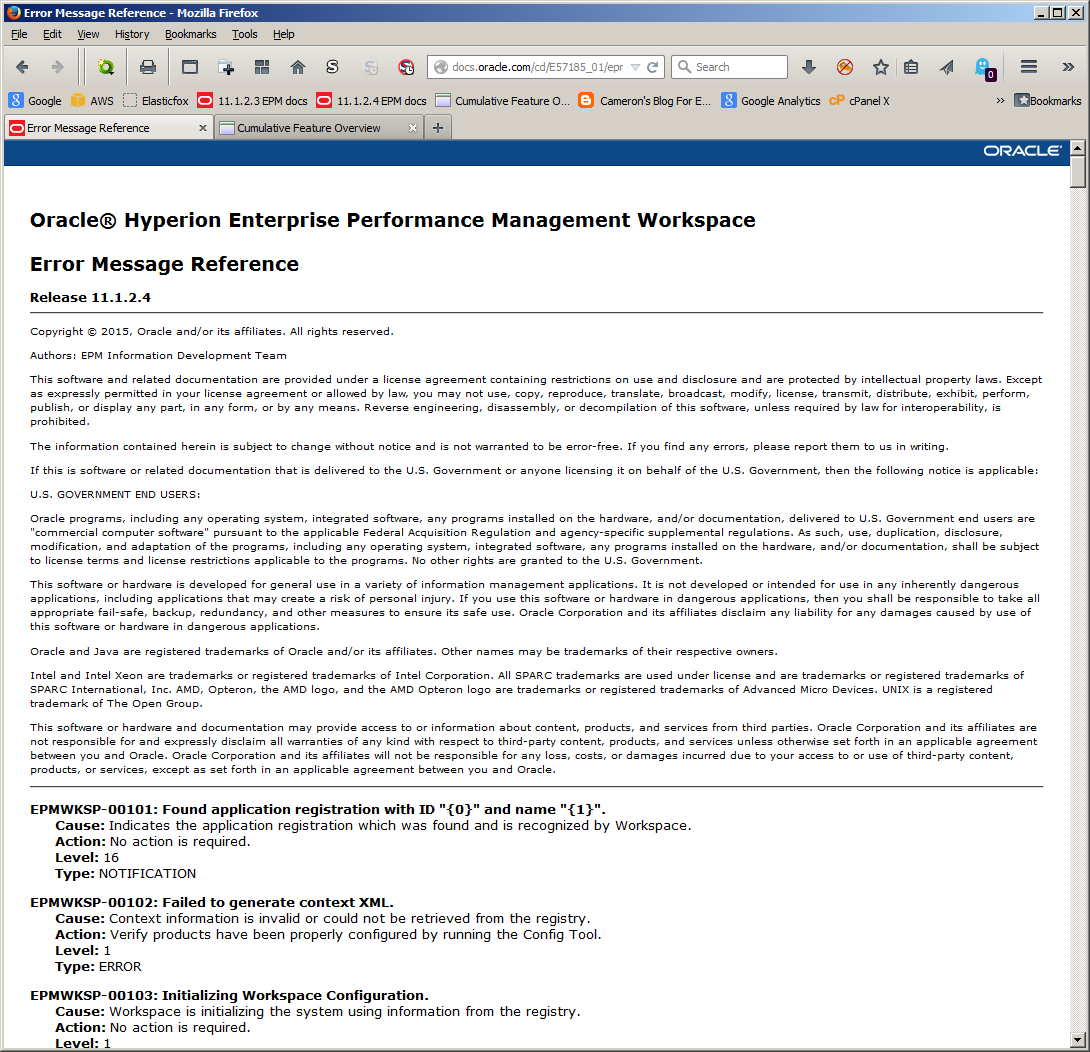
Alas and alack, the Essbase error guide still has the old look, but upgrading it is on the radar:
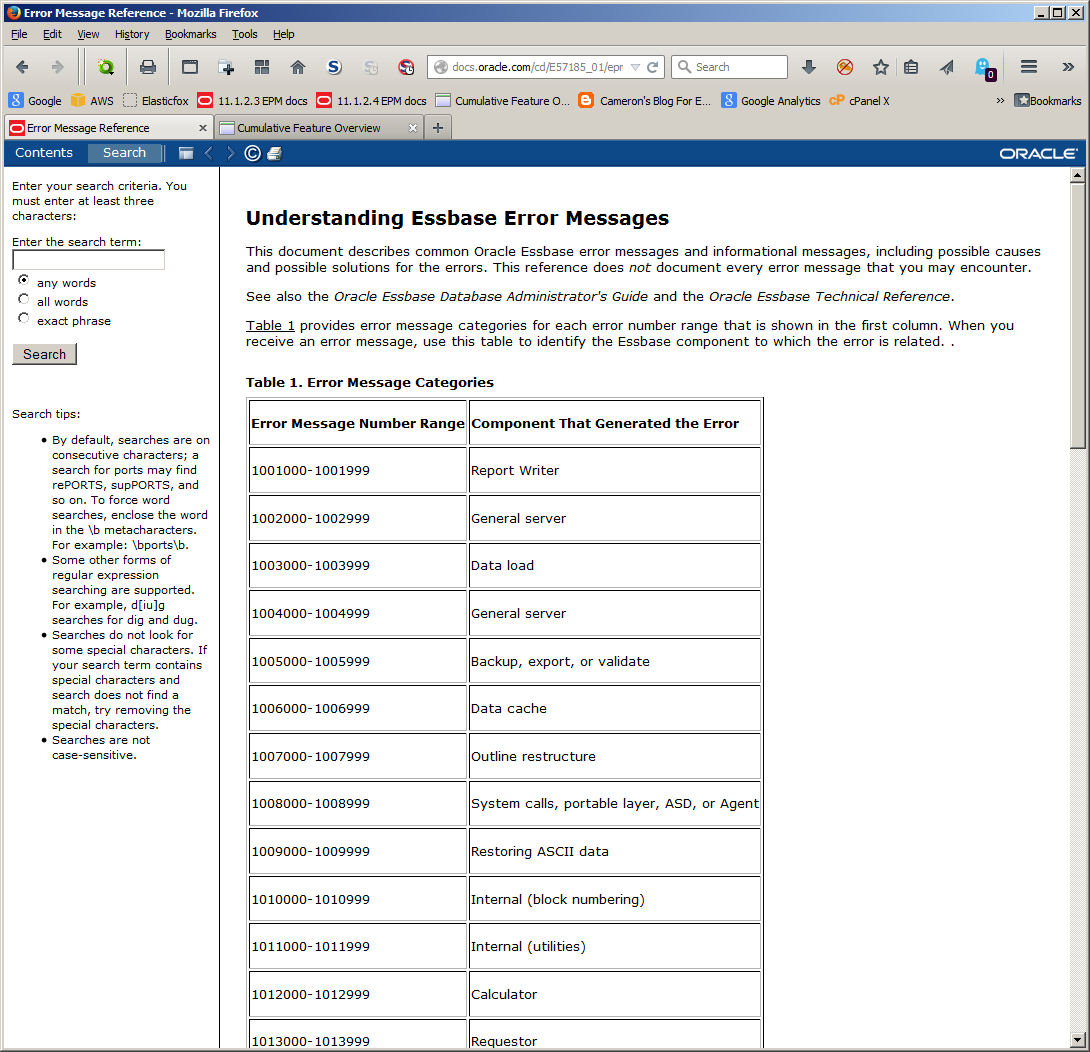
Again, you may think of these as incremental improvements but I view these improvements as making my life that much easier; if I’m looking at the Essbase error message list, life is bad, bad, bad. Anything that makes that bad go away quickly is good in my book.
More than an incremental improvement
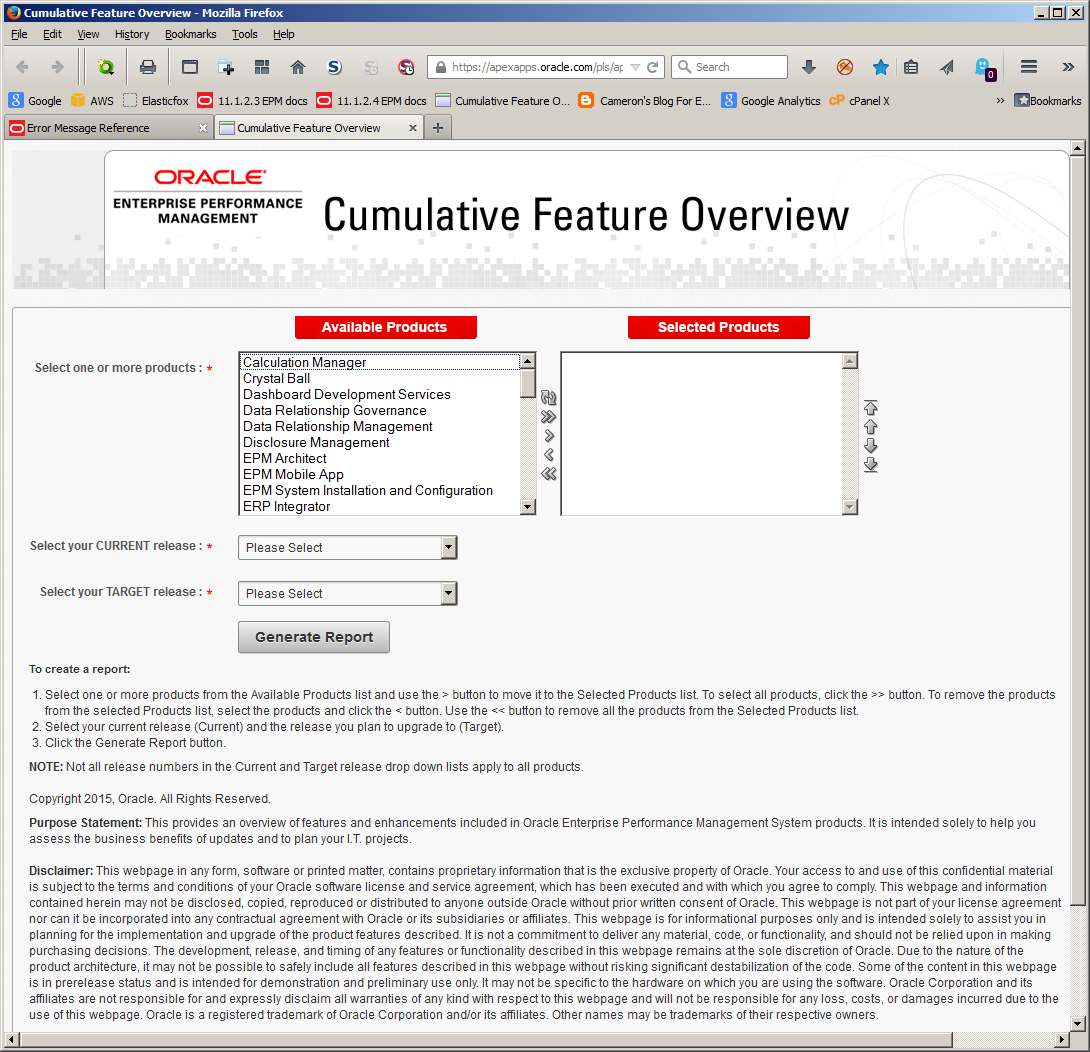
The EPM Cumulative Feature Overview has been around for quite a while. I can remember looking at it during an 11.1.2.0 implementation and that was 2011. It has heretofore been an Excel workbook that was only available on My Oracle Support. I’m a Gold Partner (and yes, it is eye-wateringly expensive for a one man shop’s access to MOS but at least I don’t have to be Platinum) so I can download it when needed but for customers or consultants who are not on their firm’s Happy Support List, getting it meant begging and borrowing a copy of the file. I try not to think about whether that violates licensing or not.
It works as before.
Pick a from and to release level:
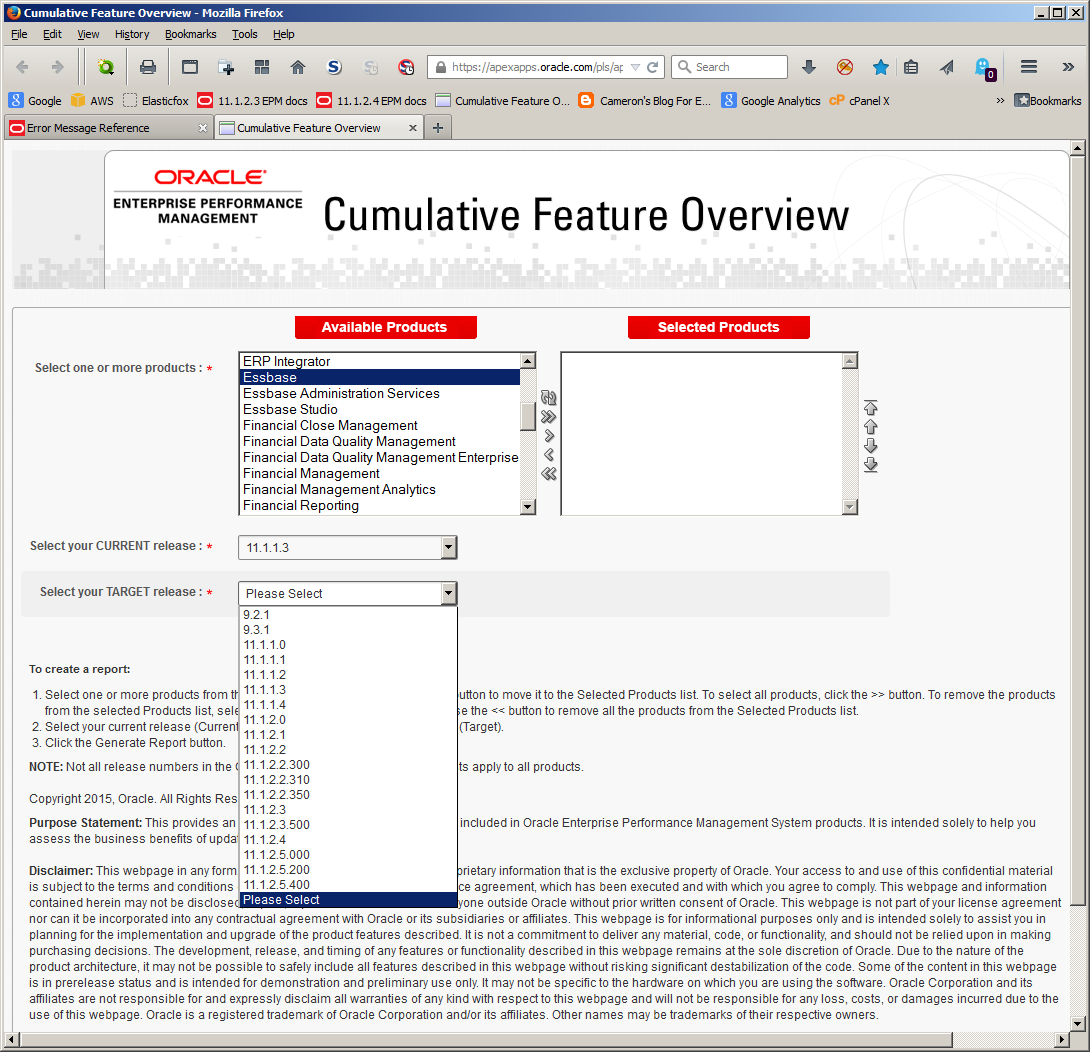
NB – the version numbers go up to the highest level, e.g., 11.1.2.5.400 is visible but it does not apply to any EPM product other than Smart View as of this writing.
Pick your version, select your technology (I am only selecting Essbase but multiple selects are possible):
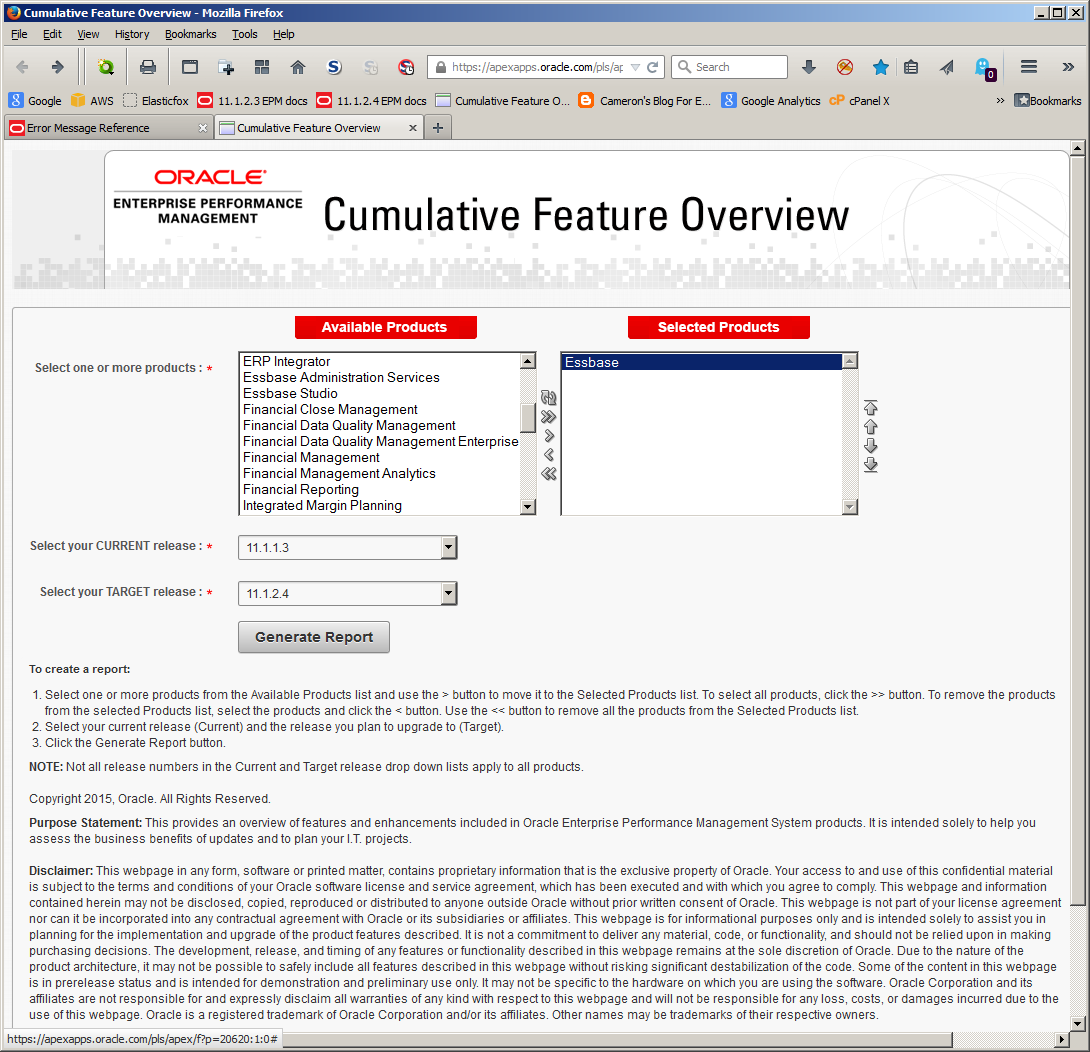
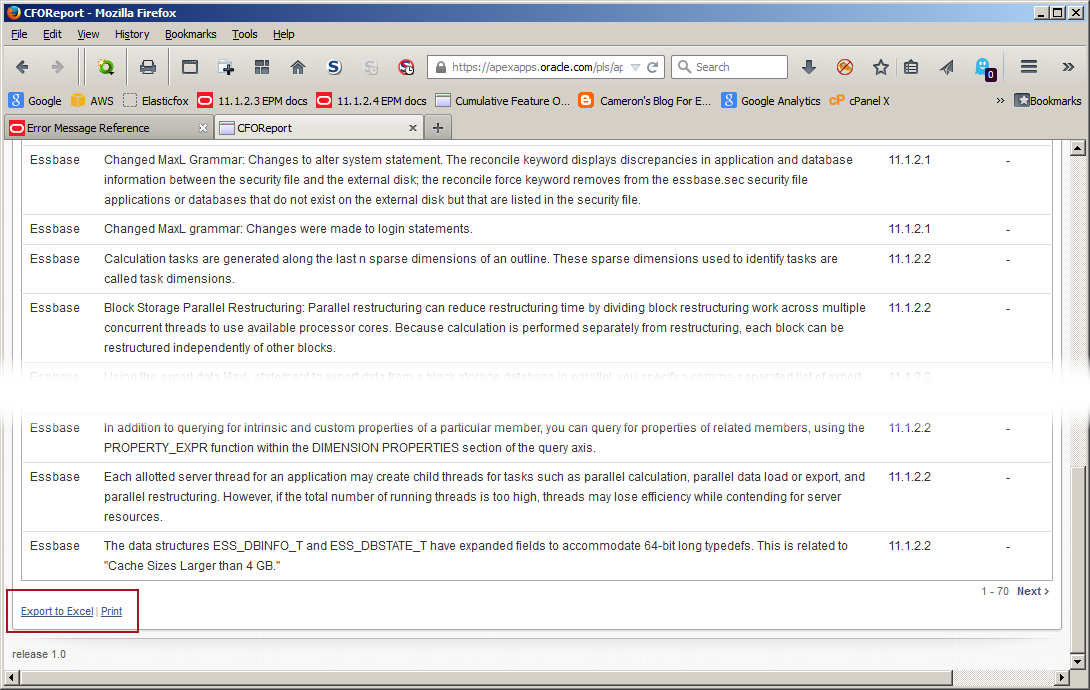
And Bob’s your Uncle, here it is:
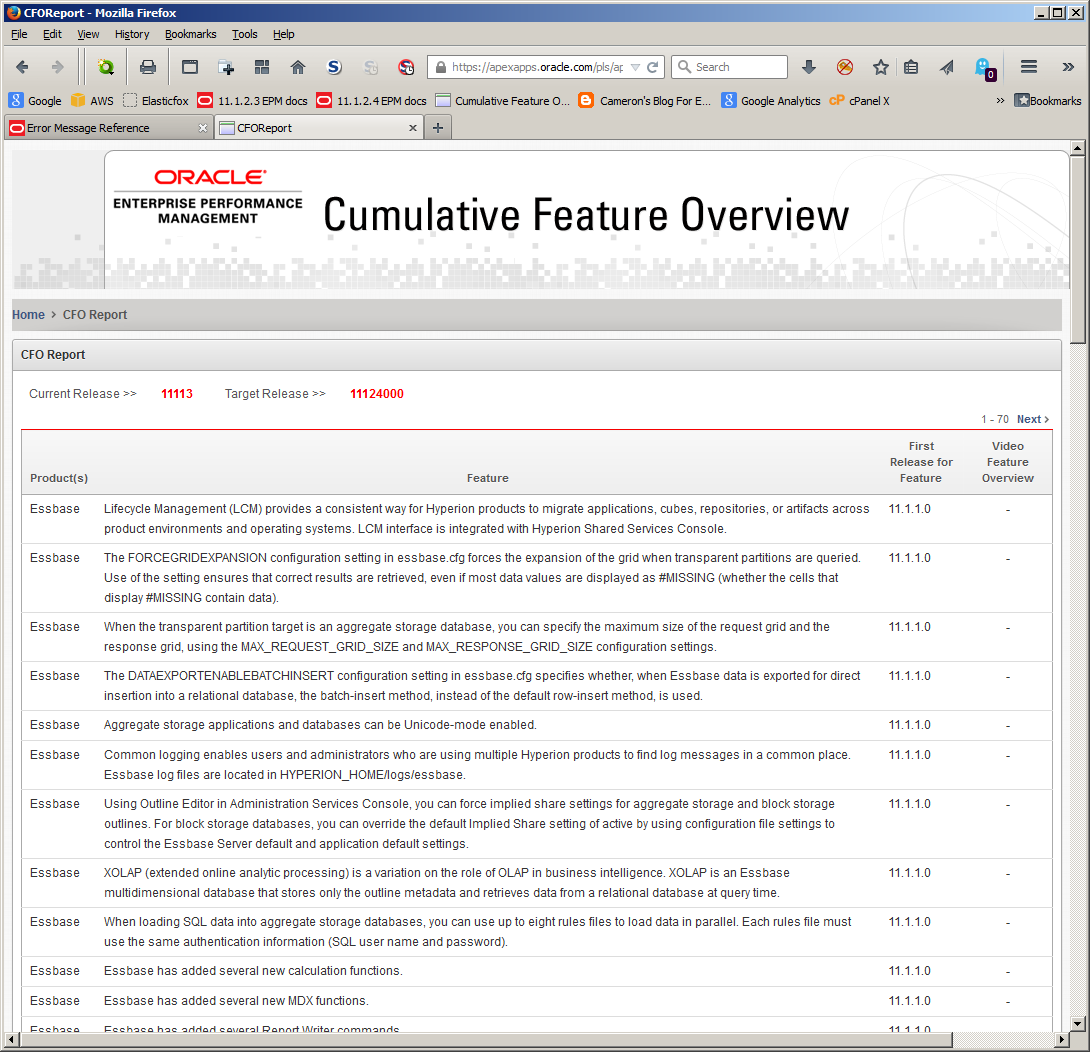
Do you see the bit in the red box? You can either print this or save it to an Excel file. Nice.
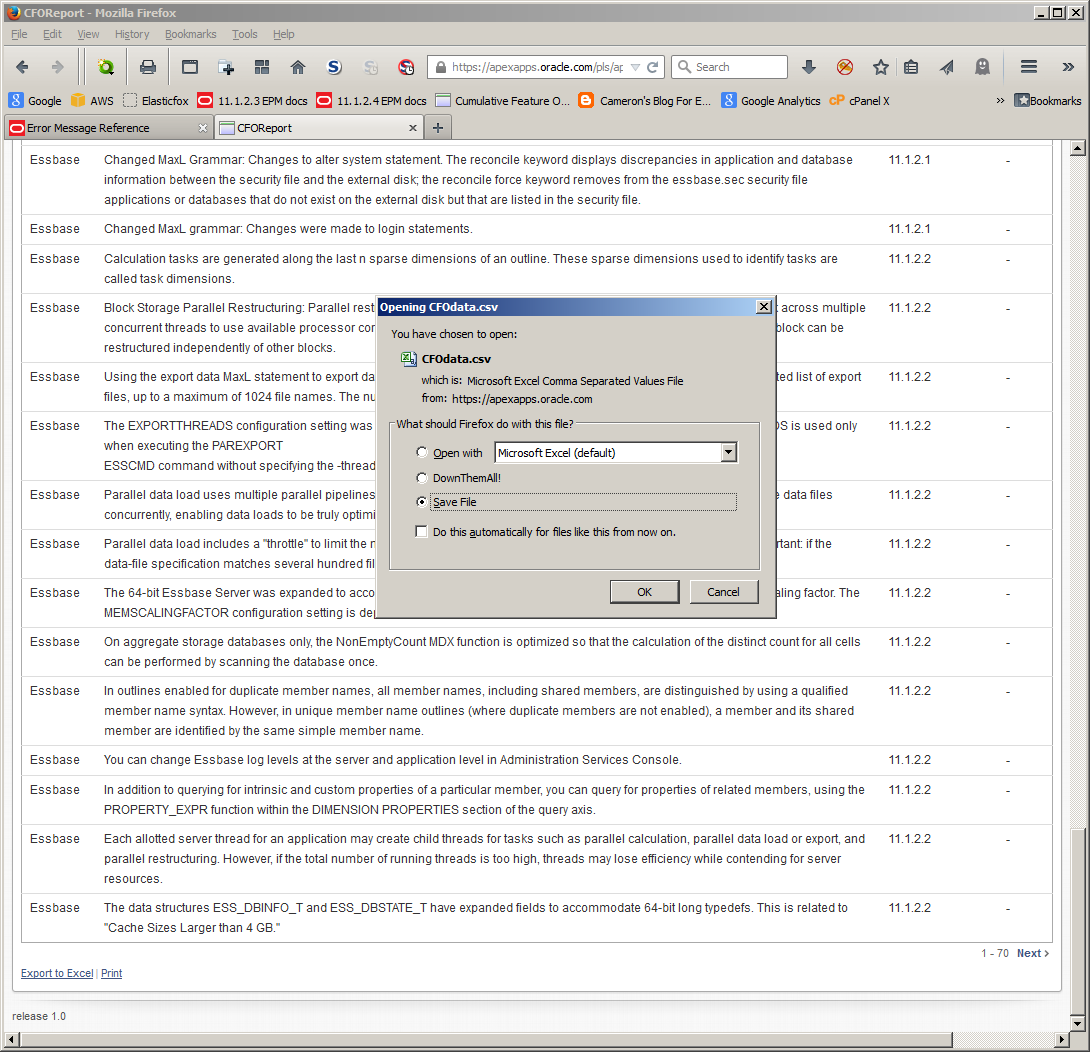
It’s as easy as 3.1249:
And here it is in all of its Excel-y glory, ready for you to send off to world+dog:
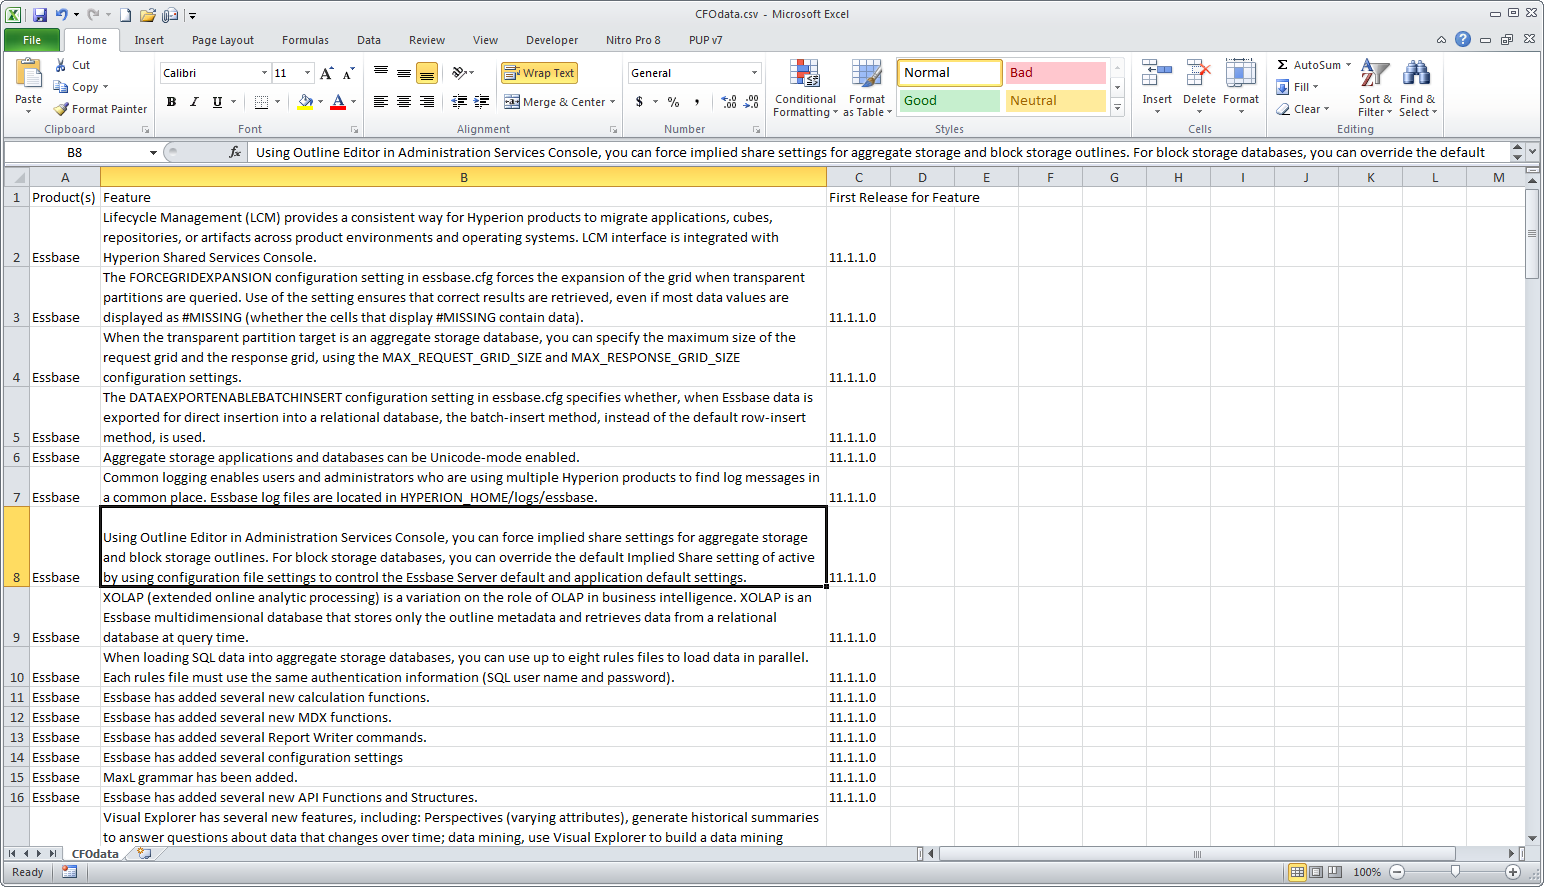
Isn’t that nice?
Yes, it is, and in fact it’s very nice. These are all incremental improvements but those improvements add up to a much easier and handier interface and thus quicker access to the information that we all need.
I know I sometimes sound like a paid shill for Oracle but I can assure you no bribes (alas, this is not terribly likely, but if it does come to pass, please make it small unmarked bills in a manila envelope) were involved. Those of you who know me privately are aware of my very critical, nay cynical, nature as evidenced by my continual pokes at Hyperion Solutions. The flip side of that is when something or someone impresses me, I am a huge fan. And I am a huge fan of what the Oracle EPM documentation team has produced.
Be seeing you.